How to Install Laminate Flooring
Laminate Flooring is a gorgeous flooring option for many homes. It mimics the natural look of hardwood flooring, but it is more affordable and easier to install. Laminate flooring is the perfect flooring option for people who enjoy their own home improvement projects or for the those who are budget conscious.
Depending on the laminate flooring you choose, it can be installed in most any room of your home. It is water-resistant, scratch-resistant, fade-resistant, and resistant to regular wear and tear, as well as easy to care for, making it a great flooring for busy homes and homes with kids and pets.
Laminate's tongue-and-groove design makes it relatively easy and quick to install yourself, and it doesn't take many tools or specialized tools. Laminate is a floating floor that snaps together and does not attach to the subfloor or underlayment, and in most cases, should not take you more than a day to install in a room.
Learn more about how to install your laminate flooring like a professional, so they look beautiful and pristine from day one.
Before installing your laminate floors

Before you begin your laminate installation project, you'll need to make sure you have the right materials and tools to do the job. Then, you will prepare your subfloor.
a. Gather your tools
Fortunately, laminate installation does not require any specialized tools. You will likely already have most of the tools required on hand.
You'll need:- Circular Saw.
- Jig Saw.
- Hand Saw.
- Utility knife.
- Hammer.
- Tapping block or pull bar.
- Measuring tape.
- Straightedge.
- Caulk gun.
- Level.
b. Prepare for installation
Once you have your tools, you'll need to prepare for the installation. Begin by measuring your room to determine how much laminate flooring and other materials, such as underlayment you will need. You'll want to purchase about 10% flooring than you measure to ensure you have enough planks for areas where you need to cut and so you have extras on hand for any future repairs.
Some laminate flooring comes with the underlayment attached so you do not need to purchase or lay any. But if your laminate flooring did not come with an attached underlayment, you will need to install it on your subfloor before you place your floor covering to help protect against moisture, preserve and insulate your floors, and reduce sound. If you are installing laminate flooring below grade or in a room with high humidity, you will also need to install a vapor barrier in addition to the underlayment.
The next step is to remove your old flooring and prepare your subfloors, if needed. Subfloors should be clean, even, and free of cracks to ensure an even floor.
Remove your baseboards or moldings, as well as any fixtures or doorways to make installation easier. It is easier to cut the trim around your doorways than to cut your flooring to match. So, we recommend cutting your door jamb so your flooring will slip under it, creating a more finished look.
Make sure you acclimate your unopened laminate for 48 hours before beginning your installation to avoid any warping or gaps.
Installing your laminate flooring

It is best to read your manufacturer's instructions for best practices and recommendations for installation before you begin your project.
You will first lay your vapor barrier or underlayment, if needed. Lay it so that the edges touch but do not overlap. Secure the seams with tape, as recommended by the manufacturer or use the peel and stick adhesive on some types of underlayment. Trim the underlayment with a utility knife to fit flush with the walls and around any fixtures or air vents.
You will install your laminate flooring parallel to the longest wall in your room. Not only does this look best aesthetically, but it will reduce the amount of cutting, thereby reducing waste and the possibility of error. We also recommend you work out of 2-3 boxes of planks to ensure a good variety of wood tones throughout your room, giving you a more natural look.
Measure your room to determine the width of your last row, taking into account a small gap between the laminate planks and the walls. You may need to cut your first row so that you are not left with an odd sized or very small last row. You want your last row to be at least 3-3.5 inches wide.
When it comes to cutting your planks, you do not need a specialized or finishing saw. You can use a table saw, miter saw, circular saw, handsaw or whatever you are most comfortable with. Typically, you will make your cut with the finished side up and use clamps to hold your plank steady. Remember that molding will cover your cut outer edges, so you do not have to have perfectly refined cuts.
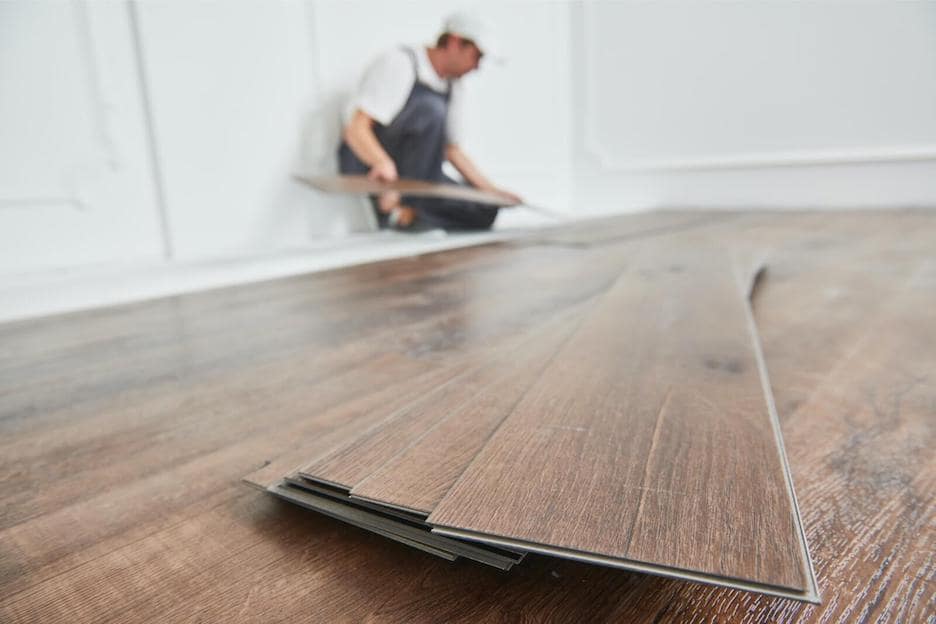
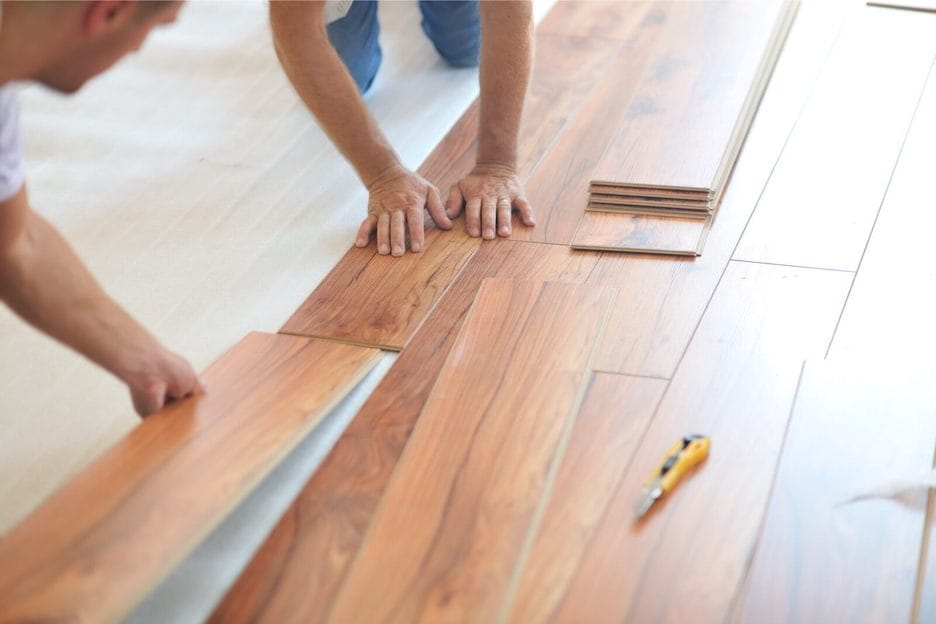
Now you're ready to lay your first row. It is important to remember a gap of about 3/8 of an inch between your planks and the floor. Use spacers to maintain that gap as you install your laminate floors. This gap is necessary because laminate flooring will expand and contract with temperature and humidity fluctuations, and without the gap your flooring will bow or warp.Place your first plank with the tongue side facing the wall. Install your next piece by aligning the tongue into the groove and snapping it into place. Continue this for the remainder of the first row, trimming the last plank as needed.
For the second row, use the remainder of the plank you cut at the end of the first row to begin your second row - if it's longer than one foot - so your seams are staggered. If your remainder is not at least a foot, cut a new plank to begin your second row. It's best to stagger the seams to provide you with the most stability.
When laying your subsequent rows, hold your plank at an angle to slid the tongue edge into the groove edge of the previous row, then snap down into place.
You can use a rubber mallet or a hammer with a tapping block to protect your flooring to gently tap planks in place, if needed. Make sure there are no gaps between the seams to prevent moisture from damaging the fiber in your laminate flooring.
Continue this process for the rest of the room, remembering to leave the gap between the wall and the planks to allow for expansion. On the last row, you may need to use a pull bar and a hammer to lock the planks in place. You may need to use a sealant or caulk around the outer seams to seal the flooring. Check your manufacturer's installation guide for specific information on sealing your floors.
Once you've completed the room, remove your spacers and install matching thresholds, moldings and quarter round.
After installing your laminate flooring

After you finish installing your laminate floors, you may want to open a window or run a fan to remove any smells associated with your installation or the new floors.
It's best to wait 24 hours before your new laminate floors are used. Try to avoid walking across them as much as possible. You will need to wait a couple of days, minimum, before placing any heavy furniture on your newly installed floors. This allows your new floors time to settle and cure, which prevents damage. Consult your manufacturer's guide for specific recommendations.
After that time, you'll be free to enjoy your new floors!